Before the shutter opens
Plan star trails on your own frame
Place the celestial pole, enter the timing of the sequence, and see how long the trails and the gaps will be at different places in the picture. The optional photograph never leaves this tab.
The shoot
Composition preview
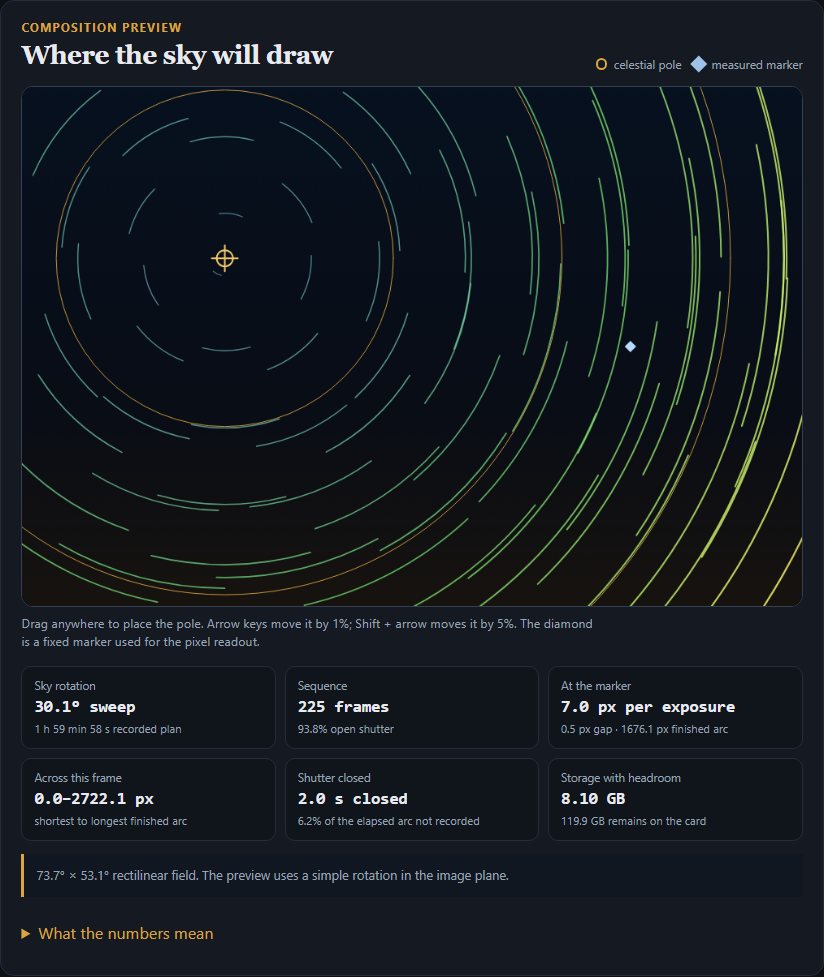
Where the sky will draw
celestial pole measured marker
Drag anywhere to place the pole. Arrow keys move it by 1%; Shift + arrow moves it by 5%. The diamond is a fixed marker used for the pixel readout.
What the numbers mean
The sky rotates about the celestial pole at the sidereal rate: 15.041° per hour. A trail in this image is its radius from the pole, in pixels, multiplied by that rotation. The coloured arcs show the completed session; the marker reports one exposure’s dash and the unrecorded gap before the next frame.
This is a planning model, not a weather or visibility guarantee. A heavily distorted or fisheye lens needs the projection-aware version planned for the next release.
From plan to finished trail
Keep the real interval as close to the exposure as the camera allows, then bring the sequence back here. The stacker reads the actual timing from the frames and can compare the plan with what the night recorded.
Stack the sequenceChoose a pinpoint exposure →Why gaps become dots →