Your first star trail, from the night to the finished file
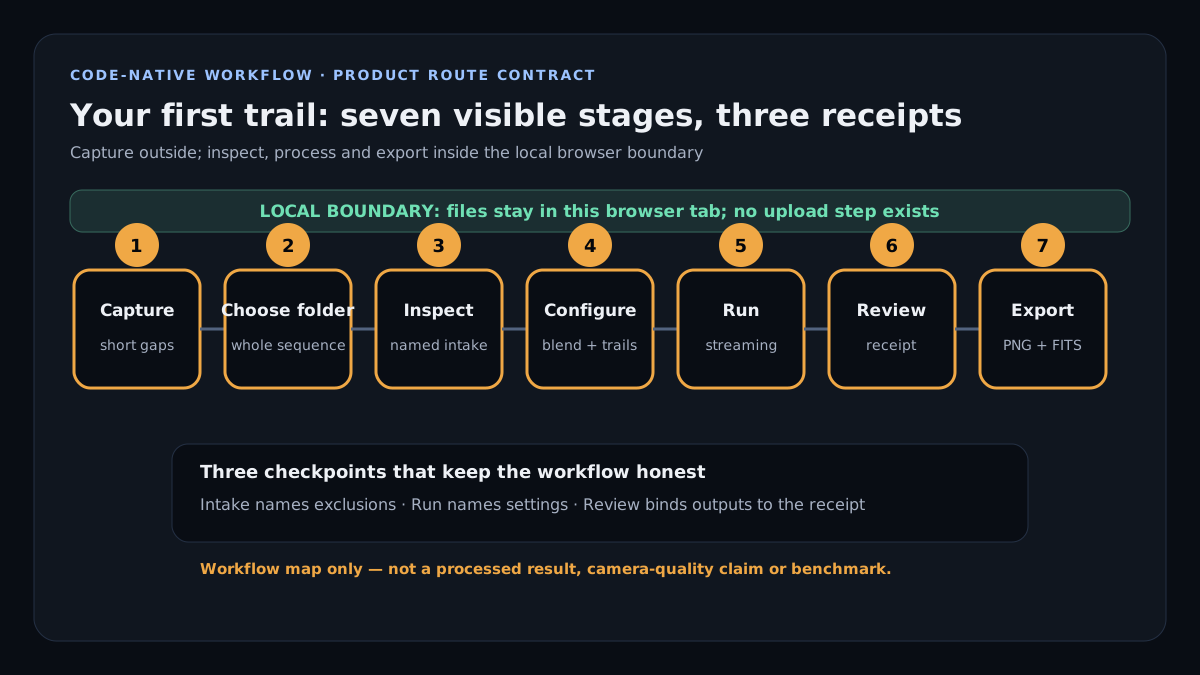
A star trail is one long arc built from many short exposures, and the whole job is four steps: shoot a sequence with the shortest gap your camera allows, hand the folder over, let the tool read the interval and the exposure out of the files, and open the result.
On this page
Chapters that open at each step, and the night’s facts: video guides.
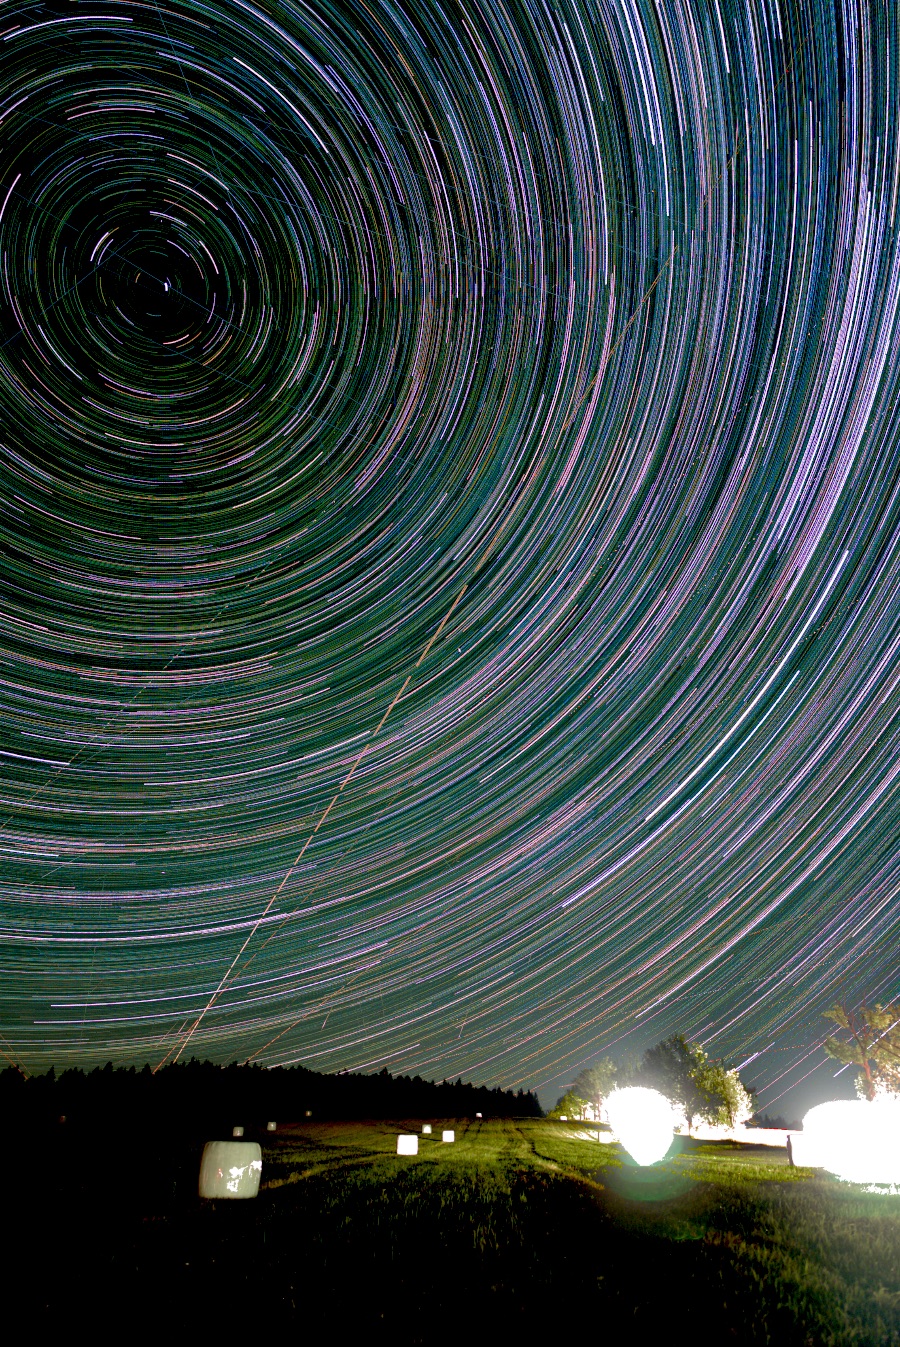
Not been out yet? How to photograph star trails is the field side of this: where to stand, what to carry, what to set, and how the published tutorials disagree with each other.
1. On the night
Put the camera on something that will not move for an hour, point it where you want the arcs, and take exposures back to back until you are cold. Two numbers decide how the trails look, and only one of them is about the sky.
Preview the pole, trail length, interval and card space before you go outside →
- The exposure sets how long each piece of arc is. Twenty to thirty seconds is a common starting point on a wide lens.
- The gap between exposures is the one that ruins pictures. The sky keeps turning while the shutter is closed, so every gap is a break in the arc. An intervalometer set to fire the moment the previous frame finishes is the whole trick; in-camera long-exposure noise reduction doubles the gap and is the usual culprit. Why trails come out dotted has the arithmetic.
- RAW if you can. Not for quality alone — the sensor's own samples are what the calibration and the stack are built for. What it can read says which formats have had a real file through them.
- Do not change anything mid-sequence. Focus, aperture, ISO and framing all stay put. The tool will notice if they did not and say so, but it cannot undo it.
- A handful of dark frames at the end — same exposure, same ISO, lens cap on — cost five minutes and remove the sensor's own hot pixels. They go in their own slot, not in with the Lights.
2. Hand over the folder
Choose the whole folder rather than the files. Nothing is uploaded — there is no endpoint here that could receive a photograph — and nothing is installed, in any current desktop browser. A Drive, OneDrive or Dropbox folder that syncs to your computer is just a folder and can be chosen like any other; if its files are kept online-only, the first minutes will run at your network's speed while your sync app fetches them.
If a frame turns out to be unreadable when its turn comes — a cloud file that never downloaded, a drive that went away — that frame is left out by name and the rest of the night still stacks.
3. What it works out for itself, and the two things worth choosing
The interval, the exposure, the gap in seconds, the image scale and therefore the gap-fill radius in pixels all come out of the frames themselves. You are not asked for any of them. What is worth a moment:
- The blend. Equalised lighten is the default and the one to keep: every frame's sky is brought to a common level before the maximum, so a brightening cloud cannot win the picture. Darken makes the opposite picture — the sky with the moving things taken out.
- Aircraft and satellites. On by default. Begin with Balanced and review the proposed changes. Inspect the finished picture for residual tracks. The optional model is temporarily unavailable while its weights are revalidated. How removal works.
4. Reading what it says it did
The finished screen is a receipt rather than a congratulation. It says how many of the frames you gave it are in the picture and what happened to the rest; which frames carried a trail and whether anything was removed; what the search cannot see, in your own pixels; and whether the sky's axis was fitted from your stars or not fitted at all. Click any pixel of a finished trail and it names the frame that made it.
If something was left out, that is where it says so and why. Nothing is dropped silently.
5. Which file to open next
Two come out of one run: a 16-bit PNG that is ready to look at, and a signed 32-bit FITS that is ready to be measured. Opening the first where the second belongs is the one mistake that quietly ruins an integration — which file goes where is a page of its own.
Start now
Open the stacker Plan another night → There is a sample night on the page if you have not shot one yet.